Okay, so my project. I made a mix media journal from an old book I purchased at my local thrift store. My sisters 30th birthday was approaching, so I decided to make her a journal and incorporate burlap, which worked perfectly to showcase for the hop.
Hence I have a lot of step-by-step photos of the project so please don't get bothered by it. Showing all these images is essential since it shows the start to finish of the journal. Only two pieces of burlap material for the cover and several more pieces to make the inside pockets to hold tags and such.
I will be making a process video on my youtube channel making another journal to actually show how I made it. So if you are interested in watching a video tutorial please visit my youtube channel AF0093 and Subscribe to stay updated of my latest video posts.
Thank you so much for stopping by!
1 yard of red 2" burlap ribbon
1 yard of white 2" burlap ribbon
1 yard of mint green 1"
1 yard of 1.5" jute ribbon in natural
1 yard of your choice of colored 3/8" jute ribbon (see my etsy store)And pick 2 colors of jute twine (see her etsy store) http://www.etsy.com/shop/MyLifeInArtsNCrafts
Cheers,
CraftyX
Step 1- Gesso the entire book, selecting random embellishments, adhered with medium, let dry.

Step 2- Add more Gesso to entire front cover & embellishments, let dry.

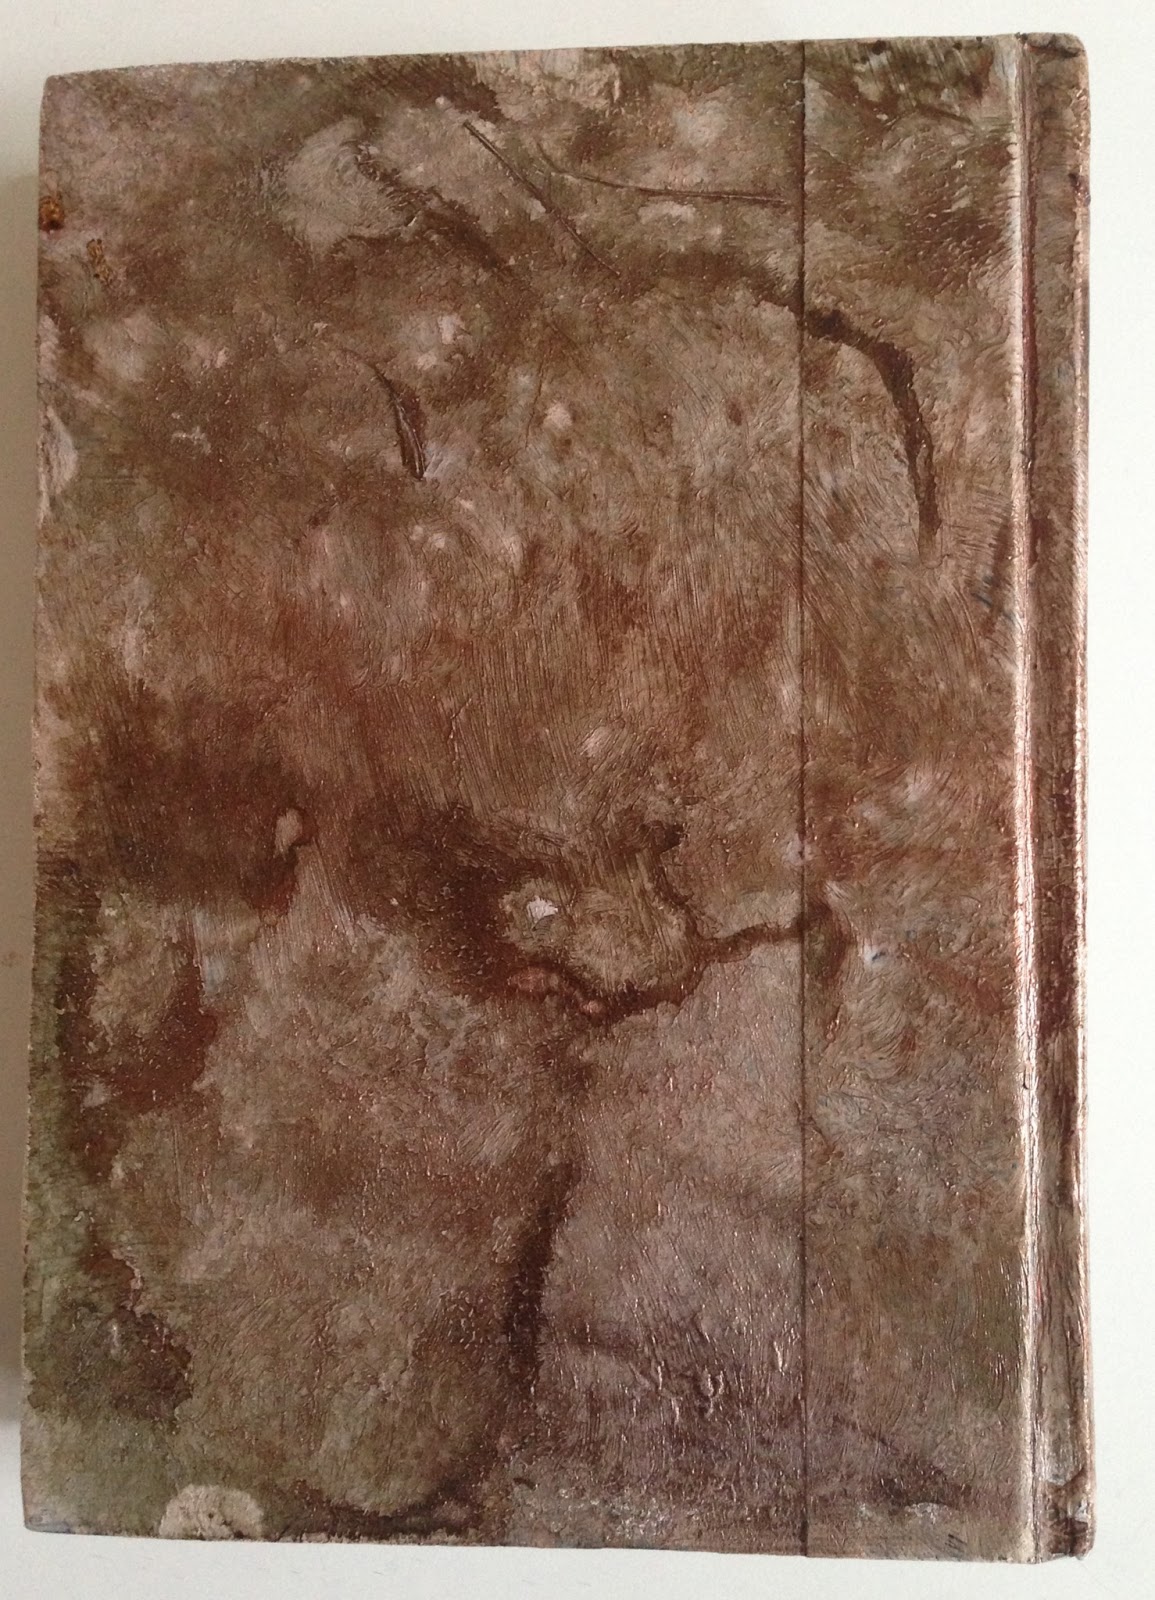
Step 3- Sprayed the back cover of book using LSG sprays, let dry.
Step 4- I also sprayed the front cover with 4 different LSG sprays and let dry, then applied more sprays according to my like until I acquired the vintage-shabbychic look I was looking for. I add a Michaels photo frame to the front cover, My sisters name begins with the letter M so I added a chipboard letter and used some of the book pages as a frame background adhered and let dry.

Step 5- Sprayed more on cover & frame to match the colors evenly thruout the entire front cover, let dry completely.

Step 6- Working on the binding, I tore all inside pages of the book and left the actual book spine, cut a white piece of medium thick chipboard for more stability, then punched two holes, as shown here.

Step 7- Selected the pages to go into the journal choose 4 different colors of thick journaling paper, vanilla, gray, white, & black. Then punched two holes on all papers.

Step 8- Here I used pretty white seam binding to put the pages together and bind to the journal cover.

Step 9- Used two eye lets to secure the binding holes for seam binding and paper to hold better.

Step 10- Binding done and completely dryed.

Step 11- Inside pages bounded and complete.

Step 12- Made inside pages &pockets for the journal used more burlap in green color and canvas material to create pocket holders for tags. I also gessoed the inside cover pages and adhered pieces of the book pages to make it look vintage. All the embellishments seen on these two pages are by Tim Holtz, Graphic45, Prima, LSG sprays, Recollections, my own metal findings and tags from Michaels recollection packs.

Step 13- Another inside page made with pockets.

Step 14- More pages.

Step 15- I used a Tim Holtz metal claps to create a closure and attached it to two charms I had.

Step 16- The closure.

Step 17- The final back cover color and a vintage charm conected to the closure clasp.

All finished and ready to pack. I also made the gift box out of a chocolate box.

Journal all packed up and ready to be delivered. Hope you guys liked it! Any questions let me know.

Many thanks and have a crafty day!
So very cool!!! I love all the stuff that you did. So glad that you shared the process. :). You have a very creative mind!
ReplyDeleteI am a new follower of you blog and hope that you will return the bloggy love. :)
Robin
http://cutonedesignsbyrobin.blogspot.com/
WOW!!!! This is GORGEOUS! I'm a new follower!
ReplyDeleteMiranda :)
www.nanasscrapspot.com
HOLY omg gorgeous....what a tremendously beautiful journal...stunning
ReplyDeletecathie
scraphappycat@gmail.com
Wow. This is incredible. Just beautiful.
ReplyDeleteThis is stunning. I love the entire project.
ReplyDeleteI'm speachless, this is beautiful & a work of art! You are extremely tallented & have a true artistic ability. thanks for hopping with us. I will be pinning this for inspiration!
ReplyDeleteThis is beyond awesome... I learned a new way to make a book, and that is cool.... love the color s, the texture, I love it all... I am loving this hop, what a way to learn how to use burlap... thanks.
ReplyDeletemorentin1326{{at}}aol{{dot}}com
adventureofthecreativemind.blogspot.com
Love, Love, Love
ReplyDeleteRobin
www.scrapdiva2011@gmail.com
WOW! This is so pretty and inspring, good job! :)
ReplyDeleteI agree, wow! This is absolutely incredible. I am SO glad you went step by step. This is definitely the kind of project I would love to work on. THANK YOU!!!!
ReplyDelete